OTP Verification For WordPress Website Without DLT Registration Using Message Central Platform
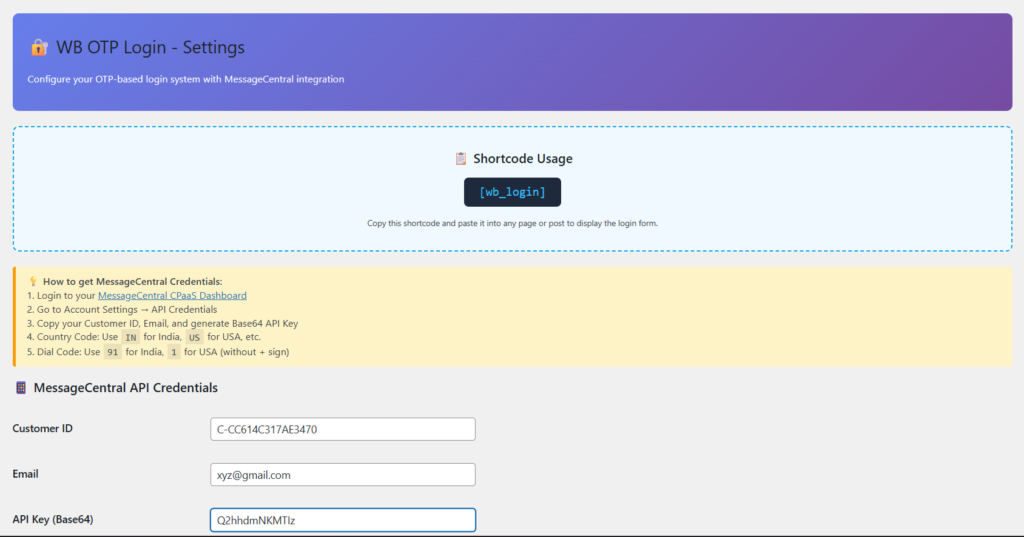
In today’s digital world, users want fast and secure login systems. Nobody likes remembering long passwords or waiting for password reset emails. That’s why OTP (One-Time Password) verification systems are becoming extremely popular for WordPress websites. Whether you run a course-selling platform, membership website, eCommerce store, or service-based business, OTP login can improve both security and user experience. In this blog, we’ll understand: What is OTP Verification? OTP (One-Time Password) verification is a login or signup system where users receive a temporary code on their mobile number. They enter the code to verify their identity. Instead of using traditional usernames and passwords, users can simply log in using their phone numbers. Example: This method is widely used by apps like banking platforms, food delivery apps, eCommerce websites, and social media platforms. Benefits of OTP Login for WordPress Websites 1. Faster Login Experience Users don’t need to remember passwords. They can log in within seconds using OTP verification. This improves user convenience and reduces login friction. 2. Better Security Passwords can be guessed, leaked, or reused. OTP verification adds an extra security layer because the OTP works only once and expires quickly. 3. Reduce Fake Registrations OTP verification ensures that users enter real mobile numbers during signup. This helps reduce spam accounts and fake registrations. 4. Higher Conversion Rates A simple OTP-based login system can increase signup completion rates because users prefer quick authentication methods. Especially useful for: 5. Password Reset Problems are Eliminated Since users log in using OTP, they don’t need to remember passwords or request password reset emails repeatedly. What is DLT Registration? DLT stands for Distributed Ledger Technology. In India, telecom authorities introduced DLT regulations to reduce spam SMS and fraudulent messaging. Under TRAI regulations, businesses sending SMS messages through telecom networks usually need: This process is commonly known as DLT Registration. Why Do Most OTP Providers Require DLT? Most SMS gateway providers in India use telecom routes that are directly connected to Indian operators. Because of TRAI regulations, these providers require businesses to complete DLT verification before sending: Without DLT approval, SMS delivery may fail or messages may get blocked. Problems With DLT Registration Although DLT helps reduce spam, it creates problems for many small website owners and developers. Some common issues include: For developers testing OTP systems or small businesses starting out, DLT can become a major hurdle. How Message Central is Different Message Central provides a simpler way to implement OTP verification systems. One of the biggest advantages of Message Central is that developers can integrate OTP functionality without going through the complicated DLT registration process for basic OTP workflows. This makes it extremely useful for: Benefits of Using Message Central Easy API Integration Message Central provides simple API endpoints that can be integrated into WordPress websites easily. Fast OTP Delivery OTP messages are delivered quickly, providing a smooth login experience for users. Beginner-Friendly Compared to traditional SMS gateway providers, setup is much simpler. Perfect for WordPress OTP Systems You can use it with: No Complex DLT Setup for Basic OTP Workflows This is the biggest reason many developers prefer Message Central for OTP verification systems. WordPress OTP Verification Using Message Central Now comes the practical part. In the next section, we’ll integrate Message Central OTP verification into a WordPress website using custom code. We will create: You can add this functionality to: What We Will Need Before starting, make sure you have: 1. WordPress Website A working WordPress installation. 2. Message Central Account Create an account on Message Central and get: 3. Access to functions.php We’ll add custom code inside: Features We’ll Build Our OTP system will include: Install WPCode – Insert Headers and Footers + Custom Code Snippets – WordPress Code Manager While most SMS providers require complicated DLT registration processes, Message Central makes OTP integration much easier for developers and businesses. In the next section, we’ll implement the complete WordPress OTP verification system using Message Central step-by-step with custom code integration.
How To Convert Any Website into App using Android Studio
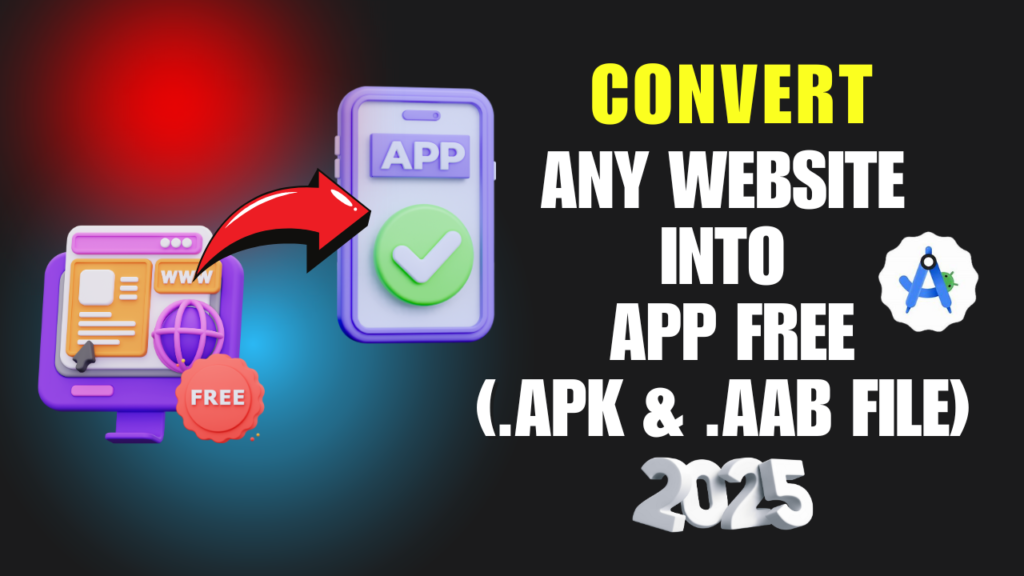
How To Convert Any Website into App using Android Studio Hey Developers and Creators, welcome to this blog post where we will see “How To Convert Any website into App using Android Studio “. To publish any application in Google Play Store we need two files i.e, .apk file and .aab file. But issue is there no any website that provide free service to convert website into app and give these two files. And to solve the issue I am here to tell you the guide to convert any kind of website into application totally free. In order to do this we will use Android Studio platform. Android Studio is the official Integrated Development Environment (IDE) for Android app development. It provides a comprehensive set of tools for building, testing, and debugging Android applications. Key features include a flexible build system (Gradle), a fast emulator, a visual layout editor, and support for various programming languages like Java and Kotlin. Android Studio simplifies the development process with features like code completion, debugging tools, and integration with Google services. With the help of Android studio we will convert website into app and get .apk and .aab file for playstore without investing any penny. Video Tutorial To Convert Website into App 1. WebView Android App Code Activity_Main.xml MainActivity.java AndroidManifest.xml 2. Internet Connection Error: AndroidManifest.xml MainActivity.java 3. Back & Exit Feature: MainActivity.java 4. Swipe Down to Refresh: activity_main.xml MainActivity.java 5. Splash Screen: SplashActivity.java activity_splash AndroidManifest.xml Follow the video Tutorial and codes available in this post. That’s it , you’ll get apk file as well abb file for your playtsore journey. Codes Credit- @TechnoVedant Sir
Customize Ultimate Affiliate Pro Dashboard

Customize Ultimate Affiliate Pro Dashboard Hey Developers & Creators , in this blog post we will see how you can customize default ultimate affiliate Pro dashboard i.e, we will see Ultimate Affiliate Pro Dashboard Customization. Ultimate Affiliate Pro Plugin is a powerful WordPress plugin designed to create and manage affiliate programs directly on your website. With advanced features like multi-level commissions, performance rewards, customizable referral links, and real-time tracking, it enables businesses to easily attract and reward affiliates. Its flexibility and extensive customization options make it suitable for businesses of all sizes looking to drive traffic, boost sales, and grow their online presence through affiliate marketing. Ultimate Affiliate Pro Plugin – Official Page This is brief information about the plugin , so when you install the plugin you get a default user dashboard but that is not fully customisable . How To Customize Ultimate Affiliate Pro Dashboard This video will help you in customizing dashboard where you can display today, weekly, monthly and all time earning the dashboard which is not present in default one. Codes That are used in this Video A. account_page-overview.php B. account_page-header.php C. Dashboard CSS For Four Tabs D. Menu Name and Links E. Helpful Shortcodes Click here To Download Additional CSS This is full tutorial for customizing Ultimate Affiliate Pro Dashboard. Hope so, this works for you !